Step-by-Step Tutorial
Campaigns
Now we will walk through starting a package campaign versus purchasing an individual product.
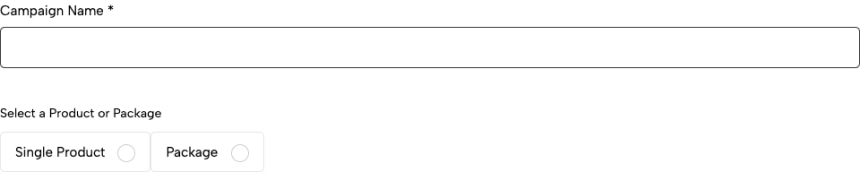
You will be prompted to first name the campaign and then choose between a single product or a package (weekly or monthly). To familiarize with all the different options, please review https://www.christianpost.com/advertising before reaching out to our business team regarding products. Then within CP Ad Manager there is a pricing for each individual product or a pricing for each package set.
**Please note that for each successive step in the campaign process you can not backtrack. Therefore, before clicking next be certain of the option being chosen.
For our first example, we will start by purchasing a starter (monthly) package.
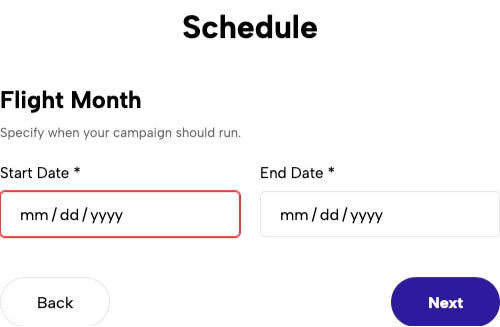
Then, determine the schedule for when the campaign should run. Choose the start and end date. If it is for a month as it is in this example, determine the flight month.
You will notice that for the targeting section there are no options for packages. If you still need targeting options please contact the business team by filling out the contact us form.
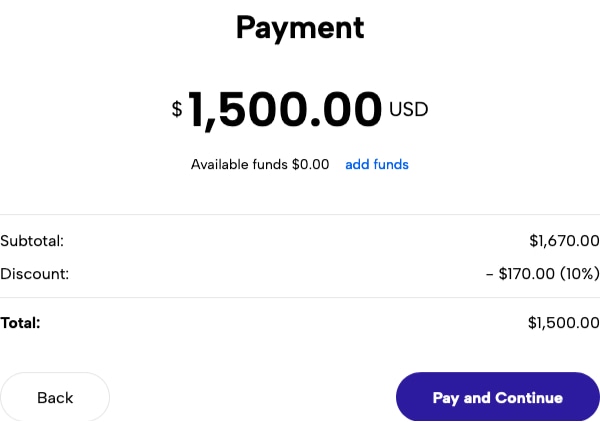
For the next step, in this example the price is fixed for the package. So the budget is already predetermined for this package.
After that, payment will be asked using either the available funds or available credit depending which payment method has been set up. In our example, we will pay using a line of credit.
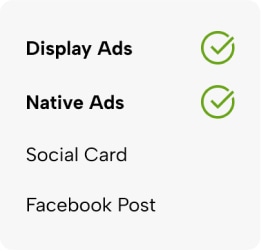
Lastly provide the corresponding creatives. For certain creatives, more than one size might be required (such as display ads, 2 sizes are required). Therefore, create a separate creative block for each required size otherwise an error message will say something is missing. When parts of the creative step are completed without errors a checkmark should display on the left-hand sidebar. If you see errors, please address them before continuing.
When you are ready, click submit. From there, a popup will display with the message below.
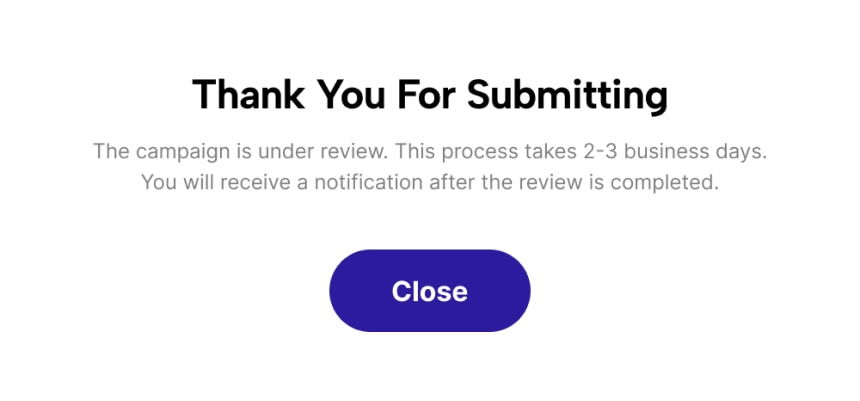
The campaign is given a “Pending Review” status to be reviewed by the business team from this point. If all things look good, then the campaign will show an approved status on the overview page and be ready to run at the specified flight time.
For our second example, we will set up a social card campaign.

Next, like the previous example, determine the schedule for when the campaign should run. Choose the start and end date. Notice that there is only a minimum of 7 days but the actual length of this campaign type and all the other CPM products, is up to you. Just note though, the length of time will affect how we are able to deliver on the number of impressions. The longer the flight dates the more spaced out over a period of time CP users will see your ad rather than seeing it more frequently on multiple visits if given only 7 days. It is possible and we do not insure it, if given a very short time window our system might under-deliver on the number of impressions.
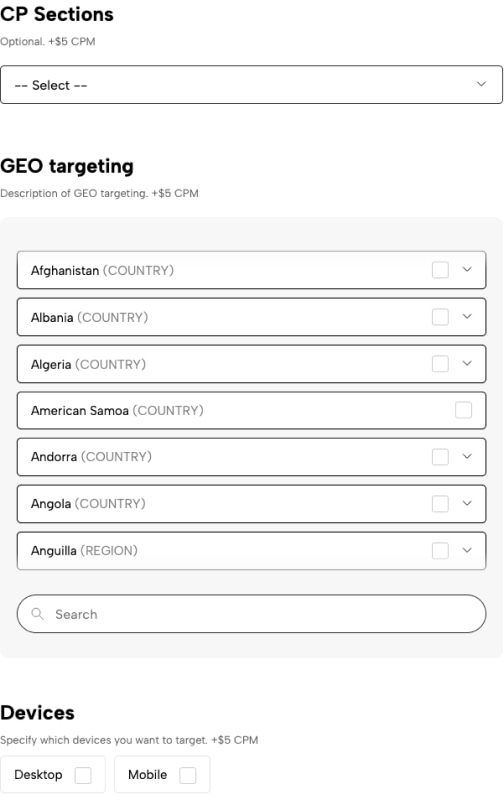
Optionally, there is the option to further target by CP sections, geographical location or by device type for this type of campaign. Also, if there are other targeting options that are not provided that you would like, please fill out the contact us form to the business team. But in this example we will skip this step.
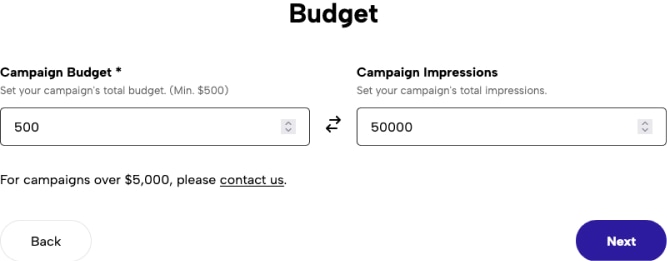
In the next step, determine the budget for the campaign (must be over $500). Either base the calculation on the number of impressions or the dollar amount.
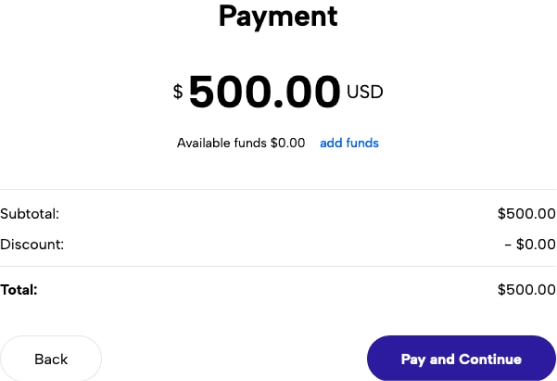
After that, payment will be asked using the available funds. In this example, we will instead assume we are using a prepaid account where we have linked either a credit card or bank account. Take for instance this scenario, currently there is not enough funds available to pay for this campaign.
Upon clicking “Pay and Continue” an error message will appear.

In this case, the only way to continue is to “add funds” in order to pay for this campaign.

Choose the payment method and add the necessary funds or allocate as much as is needed. In this example, we will add another $500.
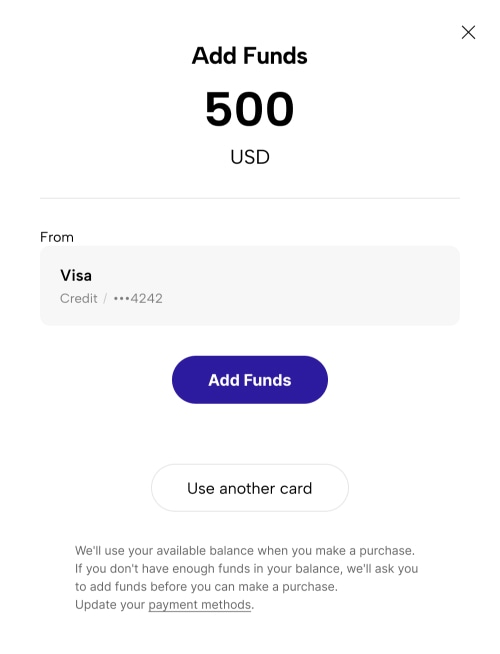
From here it will return us to the payment screen again and now we should have enough funds to proceed on to the next step.
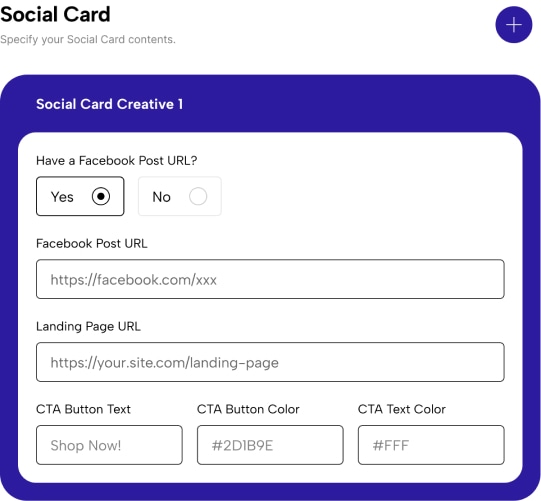
Lastly, you will be asked to provide the corresponding creatives for the social card campaign.
And barring any errors, then upon clicking submit should return a “Thank you for submitting” popup.
From there, the campaign will be reviewed by the business team in the same manner as the package example explained previously to await approval or rejection of the campaign.
Searching for Campaigns
Under the campaigns tab, it is possible to search for campaigns created by the organization by keyword. Currently, campaigns search can only be ordered by ‘Date Created’ and for ‘Filter By’ there are a few options depending on where in the pipeline you are interested in capturing.
